A Guide for the Uninitiated
I have recently switched over to using RPM based Linux distributions on all of my machines as an exercise in learning to manage them. One tool that I really enjoyed on the Ubuntu/Debian side is Canonical’s Landscape software. It’s free for a limited number of personal machines and it allows me to manage them centrally. When I switched over to CentOS VMs in my lab, I found the central space somewhat… lacking.
Enter: Spacewalk
Spacewalk is an open-source management platform for RHEL-derivative systems. It does a lot of the same things as Landscape, and even more. Unlike Landscape, though, the technical know-how bar-for-entry is a fair bit higher, and the documentation is a bit less beginner-friendly. So, I rolled up my sleeves, waded knee-deep into forum posts, the wiki, and StackOverflow questions to learn how to setup my own Spacewalk server and manage my lab VMs with it. So, I thought I would share my discoveries for those who, like me, want to learn to use Spacewalk, but find it daunting.
Part I: Installing Spacewalk Server
This is my method for installing Spacewalk server on RHEL7 — this works for CentOS7 and Scientific7. Spacewalk is a system management and automation server for RHEL based systems.
Learn from my mistakes: If you’re installing Spacewalk in a VM, make sure you give it at least 25GB of space to be safe. I left it on the default 10GB, and the 6GB left-over after installing Scientific Linux 7 wasn’t enough space to initialize the Postgres database.
Install Spacewalk
Spacewalk depends on several EPEL (Extra-Packages for Enterprise Linux) packages, including OpenJDK, so we’ll make sure the EPEL repository is installed:
# yum install epel-release
Now, we’ll install the Spacewalk repository:
# rpm -Uvh https://copr-be.cloud.fedoraproject.org/results/@spacewalkproject/spacewalk-2.9/epel-7-x86_64/00830557-spacewalk-repo/spacewalk-repo-2.9-4.el7.noarch.rpm
It’s also a good idea to make sure that your system is up to date before making any big changes:
# yum clean metadata && yum update
Spacewalk requires a database back-end to store information about packages/systems/etc. By default, it can configure and install PostgreSQL:
# yum install spacewalk-setup-postgresql
Finally, install Spacewalk and tell it to auto-configure the Postgres back-end:
# yum install spacewalk-postgresql
(This installs several hundred packages, so it will take a while.)
Configure the Firewall
Spacewalk uses HTTP/S to communicate with the client machines. Port 5222 is also opened, which allows the Spacewalk server to push instant (or near-instant) commands to the client machines over a tunnel. The following commands configure the default firewall on CentOS 7.
Enable HTTPS:
# firewall-cmd --add-service=https --permanent
Enable HTTP:
# firewall-cmd --add-service=http --permanent
Enable Port 5222:
# firewall-cmd --add-port=5222/tcp --permanent
# firewall-cmd --add-port=5222/udp --permanent
Reload the Firewall:
# firewall-cmd --reload
Configure Spacewalk
Spacewalk requires a FQDN (fully-qualified domain name) for the server to function properly. If you’re working in an environment with a local DNS server, set it up that way. If you’re not (most aren’t), modify the /etc/hosts file to include the following, or similar to your environment. The /etc/hosts file contains a series of aliases between IP addresses and domain names that are local to the machine the file is hosted on. Modify it by editing the /etc/hosts file in your favorite text editor. Add the following line:
###.###.###.### {hostname}.{yourdomain}.local {hostname}
Replace ###.###.###.### with the local IP of the Spacewalk server machine. Replace {hostname} with the host-name of the machine. Replace {yourdomain} with some local domain. Usually, it’s a good idea to suffix it with .local to make sure that it doesn’t overlap with actual domain space.
Now, run the following command to start the Spacewalk configuration wizard:
# spacewalk-setup
You’ll need to provide the following:
An administrator’s e-mail address
Confirmation to configure Apache2 with default SSL settings
A CA certificate password for the Spacewalk self-signed certificate
Organization and location information for said certificate
Confirmation to enable tftp and xinetd
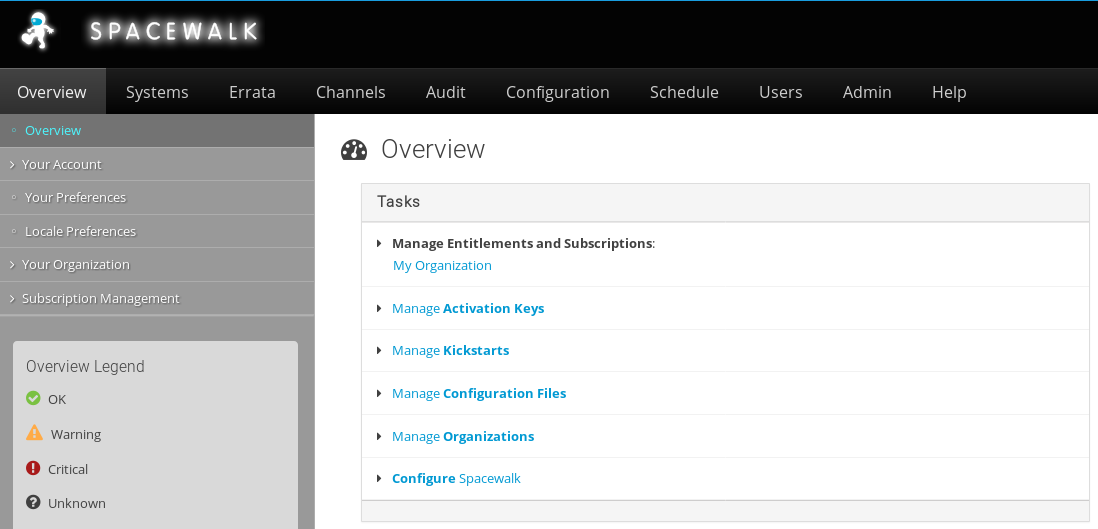
After the wizard completes, we can open the web portal by visiting the FQDN of the host. You’ll receive a certificate error because the certificate is self-signed by the Spacewalk server machine. This means that the certificate authority (which we created during the Spacewalk setup wizard) isn’t registered with your web browser. Add an exception and continue. You’ll then be prompted to create an administrative user for your organization. After creating the user, you’ll be dropped at the Spacewalk portal!